Adding an Image Box
You can add logos or other graphics to a dashboard using an Image Box.
These can be retrieved from disk or retrieved at display time from an external URL.
- After double-clicking or drawing a rectangle on the dashboard canvas, scroll to the General section of the Part Types pane and select Image Box
 .
.
The Image Box pane is displayed, and the Image Box part is added on the dashboard canvas.
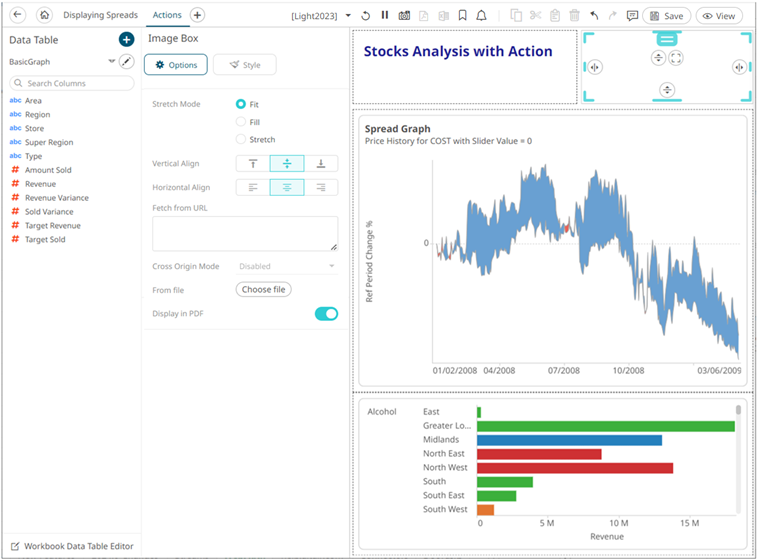
- Select the Stretch Mode: Fit, Fill, or Stretch.
- Select the Vertical Align: Bottom
 , Middle
  , or Top
- Select the Horizontal Align: Left
 , Center
  , or Right
- You can either:
- Enter the URL of the image file in the Fetch from URL text box and click
 .
.
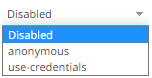
This enables the Cross Origin Mode drop-down list which allows for cross-origin attribute configuration on the image when doing a Copy Dashboard Image. Available states include:
- Click
 to browse the image file in the Open dialog.
- Enter the URL of the image file in the Fetch from URL text box and click
- The Display in PDF slide to include the image in the PDF output.
- To set the style of the Image Box, click Style
 .
.
The page updates to display the Style pane.
See Defining the Style of General Parts for more information.
- Click Update Style
 and select any of the following options:
- Set current as default – Save the changes and set it as the default.
- Create custom style – Save the changes and set it as a custom style.
The Style pane updates to display the Title control.
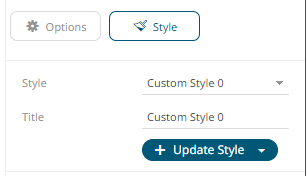
- Enter the custom style's Title.
- If there are additional changes made, click Update Current Style in the Update Style drop-down.
The new custom style is added to the Workbook > Theme > Custom Styles list.
If published, the custom style configuration of the Image Box will be added to the Global custom styles list and can be applied to other parts.
- Reset to default – Revert to the original default settings.
- Click the Save
 icon on the toolbar to save the changes.
(c) 2013-2025 Altair Engineering Inc. All Rights Reserved.