Adding an Iframe Part
The Iframe Part allows a web page to be displayed within a dashboard or page.
- After double-clicking or drawing a rectangle on the dashboard canvas, scroll to the General section of the Part Types pane and select Iframe
 .
.
The Iframe pane is displayed, and the Iframe part is added on the dashboard canvas.
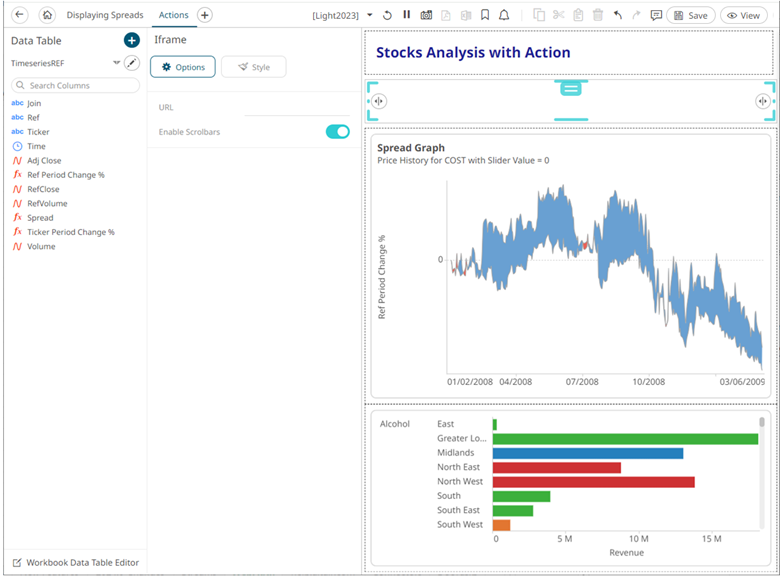
- Enter the URL of the page you want to embed in the dashboard.
- Enable Scrollbars is enabled by default. Tap the slider to disable.
This change will be displayed in the View mode.
- To set the style of the Iframe, click Style
 .
.
The page updates to display the Style pane.
See Defining the Style of General Parts for more information.
- Click Update Style
 and select any of the following options:
- Set current as default – Save the changes and set it as the default.
- Create custom style – Save the changes and set it as a custom style.
The Style pane updates to display the Title control.
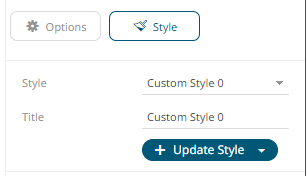
- Enter the custom style's Title.
- If there are additional changes made, click Update Current Style in the Update Style drop-down.
The new custom style is added to the Workbook > Theme > Custom Styles list.
If published, the custom style configuration of the Iframe will be added to the Global custom styles list and can be applied to other parts.
- Reset to default – Revert to the original default settings.
- Click the Save
 icon on the toolbar to save the changes.
(c) 2013-2025 Altair Engineering Inc. All Rights Reserved.