Adding and Deleting Macros
Macros are added to a workspace via the Library. This library can be accessed by:
-
clicking Open Library
 in the Data Prep Studio toolbar,
 -
clicking on the drop-down arrow of any column in your table, selecting Column List, and then clicking Add or Edit Macros,
-
clicking on the drop-down arrow of any column in your table and then selecting Macros > Add or Edit Macros, or
-
clicking Add or Edit Macros
 in the Change History panel.
Adding text macros
-
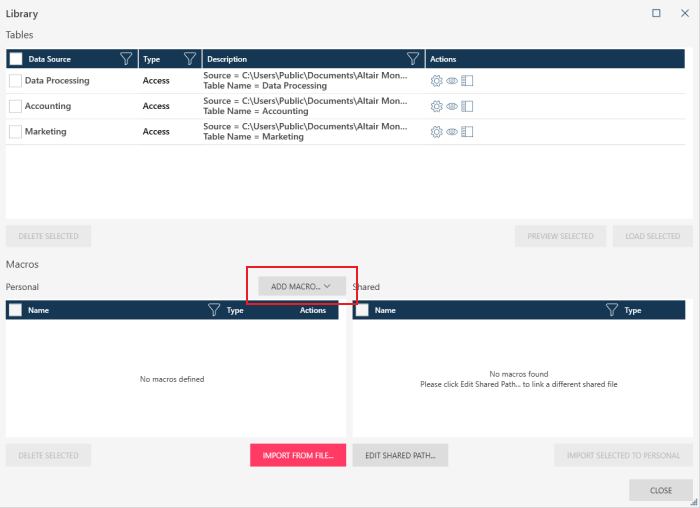
Click on the Library
icon in the Data Prep Studio toolbar.The Library displays.
-
Click Add Macro... as shown below.
-
From the options that display, select TEXT MACRO.
The Edit Text Macro dialog displays
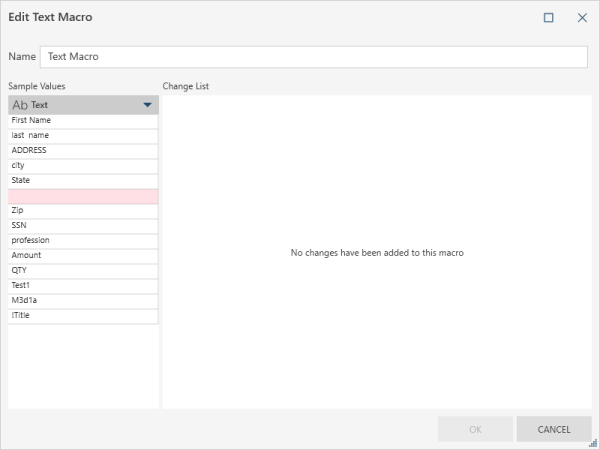
The Sample Values column shows combinations of text formats that you can clean.
-
Click the drop-down icon located to the right of the Text field in the Sample Values column and then select a data-prep operation to apply to your text field.
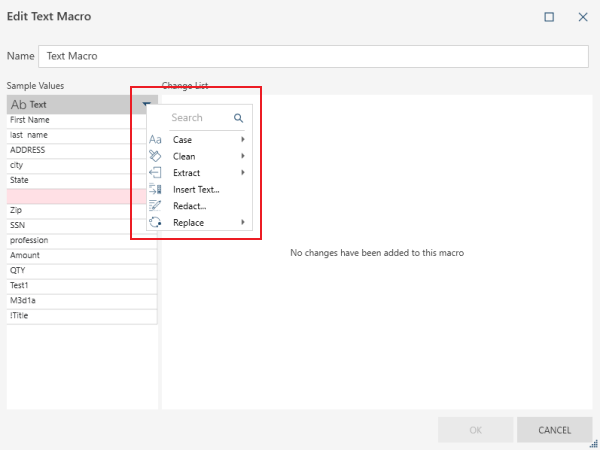
You can apply the following changes to text columns as macros:
Change Type
Details
Case
-
Make Proper Case
-
Make Lower Case
-
Make Upper Case
Clean
-
Remove Leading & Trailing Spaces
-
Remove Consecutive Spaces
-
Remove Specified Characters
-
Remove Non Alphanumeric Characters
-
Remove Numeric Characters
-
Remove Alpha Characters
Extract
-
Starting from Left
-
Starting from Right
-
Using Position & Length
-
Between Start & End Text
-
Line of a Text Block by Line Number
-
Line of a Text Block by Search Term
Insert Text
Redact
Replace
-
Ditto
-
Nulls
-
Blank Values
-
Using Find & Replace
-
Using Position & Length
-
-
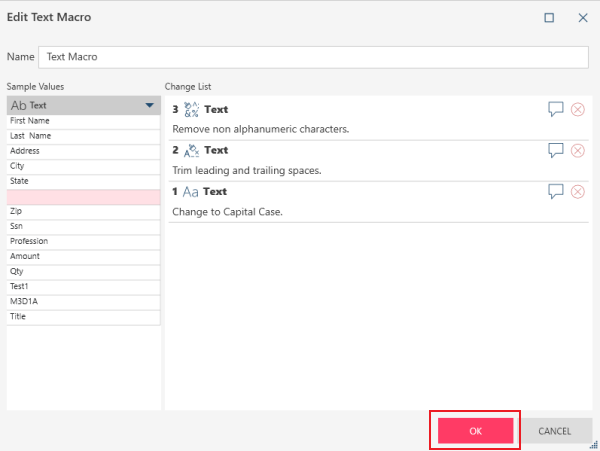
When you have finished selecting the changes you wish to apply to your text columns, click OK.
Adding numeric macros
The steps necessary to add numeric macros to your workspace are identical to those described above, except that you should select NUMERIC MACRO in Step 3.
You can apply the following changes to numeric columns as macros:
|
Change Type |
Details |
|
Compute |
|
|
Format |
|
|
Replace |
|
Adding date/time macros
The steps necessary to add date/time macros to your workspace are also identical to those described for how to add text macros above, except that you should select DATE/TIME MACRO in Step 3.
You can apply the following changes to date/time columns as macros:
|
Change Type |
Details |
|
Format |
|
|
Replace |
|
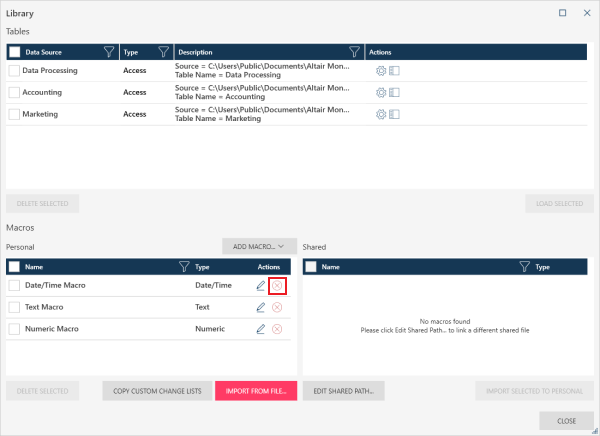
Deleting macros
All of the macros you have created display in the Macros list of the Library.
To delete a macro, select the Delete  icon located to its right.
© 2025 Altair Engineering Inc. All Rights Reserved.