The ribbon allows you to quickly access tools and standard functions, and is located along the top of the user interface.
Click on an icon to open the related tool. Hovering over a group of icons may reveal additional tools.
How you use HyperStudy depends on your model type, your simulation software and your design objectives among other factors. You can use
HyperStudy as a standalone software or you can start it from another product.
Once you have finished setting up your study, you will need to select one or more study approaches to find the answers
to your study questions. The best combination of approaches and the best method to use for each approach depends on
your application and objectives.
The status bar, located at the bottom of HyperStudy, displays supplemental information about your study.
The right-side of the status bar displays information about
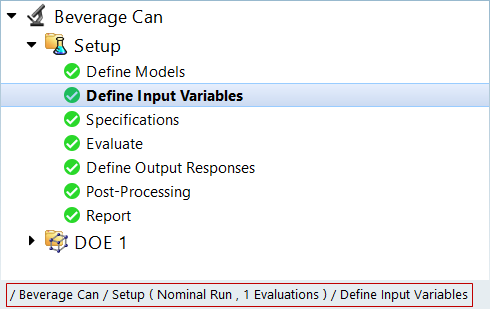
the step you are currently on.
Figure 1. Example: Status. The status reads, /Beverage Can/Setup (Nominal Run, 1
Steps)/Evaluate to indicate that you are currently in the
Evaluate step of the Setup in the Beverage Can study and will be performing a
nominal run.
The left-side of the status bar displays the number of errors
and warnings in the current study.
Tip: View a detailed list of the
warnings and errors by clicking the message in the status bar.