Creating Webhooks
- On the Webhooks tab, click on a folder then
 .
.
The New Webhook dialog displays.
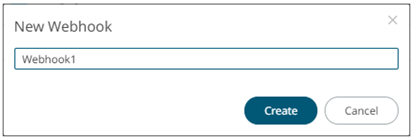
- Enter the name of the webhook then click
 .
.
The new webhook is displayed on the Webhook page.
If you want to change the name of the webhook, just enter a new one then click
 .
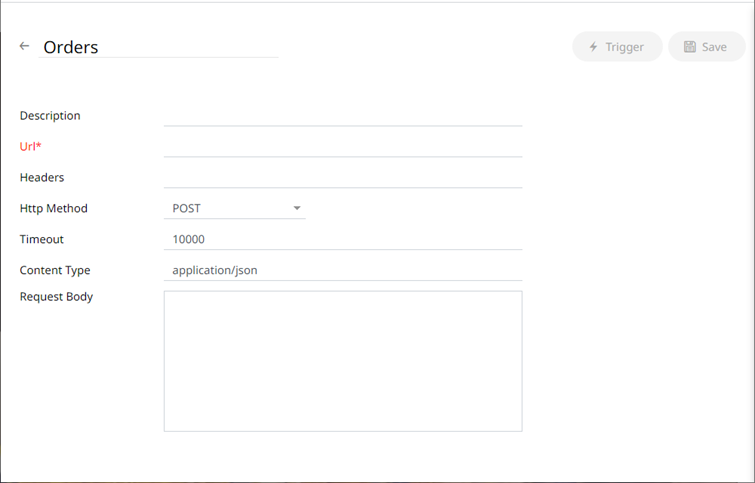
. - Enter or select the following webhook properties:
Property Description Description
Description of the webhook.
URL
URL of the webhook. This property is required.
Headers
A comma separated list of name=value pairs representing HTTP headers.
HTTP Method
Select the appropriate HTTP method for the request from the following options:

-
GET – To retrieve data.
-
POST – To add new data.
-
PUT – To replace existing data.
-
DELETE – To remove existing data.
Timeout
Timeout (in ms) for reading a response from the URL.
Content Type
The content type of the request body. Default is application/json.
Request Body
The request body to be supplied to the HTTP call.
For example:
{
'Alert title': '{_alert_title}',
'Alert dashboard URL': '{_alert_dashboard_url}',
'Alert description': '{_alert_description}',
'Alert reason': '{_alert_reason}',
'Triggering items': '{_alert_triggering_items}',
'Timestamp': '{_current_time}',
'Folder': '{_workbook_folder}',
'Workbook': '{_workbook_name}',
'Dashboard': '{_dashboard_name}'
}NOTE: URL, Headers, and Request Body fields can be parameterized (i.e., special server parameters, alert parameters, and global parameters).
-
- Click
 to save the new webhook.
 - You may opt to click
 to trigger the webhook. Any parameter in the request body will be replaced by its value when triggering the webhook request.
For example:
{_current_time} - 2021-07-01T12:34:56Z
- Click
 to go back to the Folders and Webhooks list. The new webhook is added on the list.
(c) 2013-2025 Altair Engineering Inc. All Rights Reserved.