Adding a Tabbed Panel
Allows you to add a tabbed panel within a dashboard where visuals can be assigned to each tab.
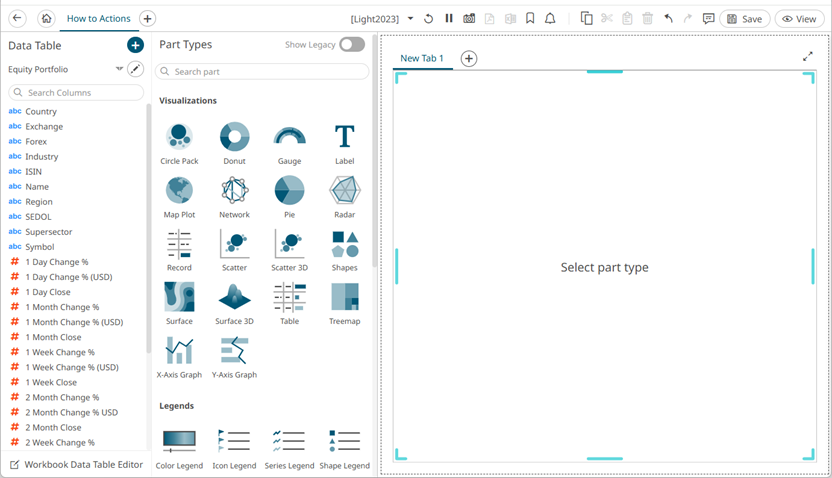
- After double-clicking or drawing a rectangle on the dashboard canvas, scroll to the General section of the Part Types pane and select Tab Panel
 .
.
The tabbed panel is displayed on the dashboard with the first tab (i.e., New Tab 1).
- You can opt to define the name or title of the tab by doing one of the following:
- Double-click on the tab and enter the name or title, or
- Right-click on the tab and select Rename. Then enter the name or title.
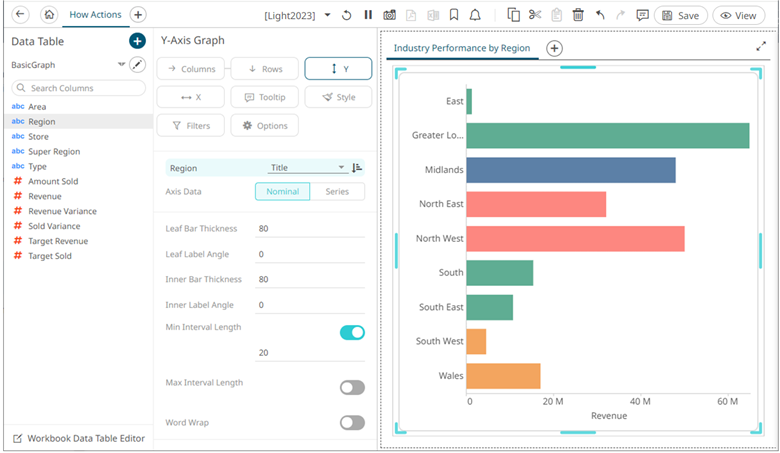
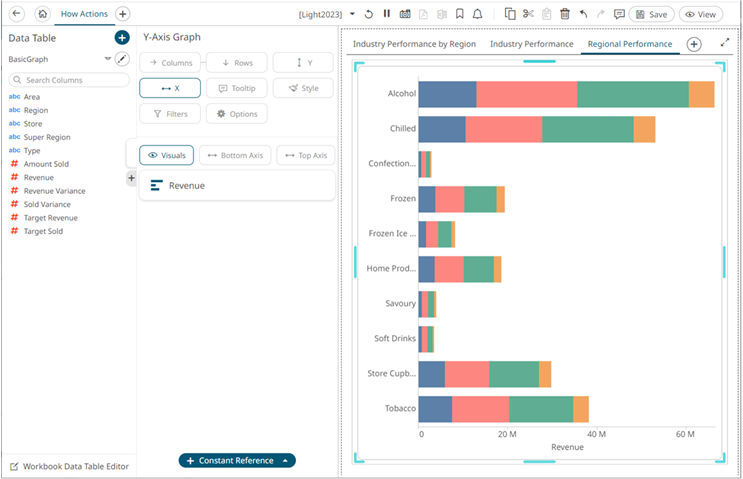
- Add visualizations on the panel as needed.
- Click Add Tab
 to add a new tab.
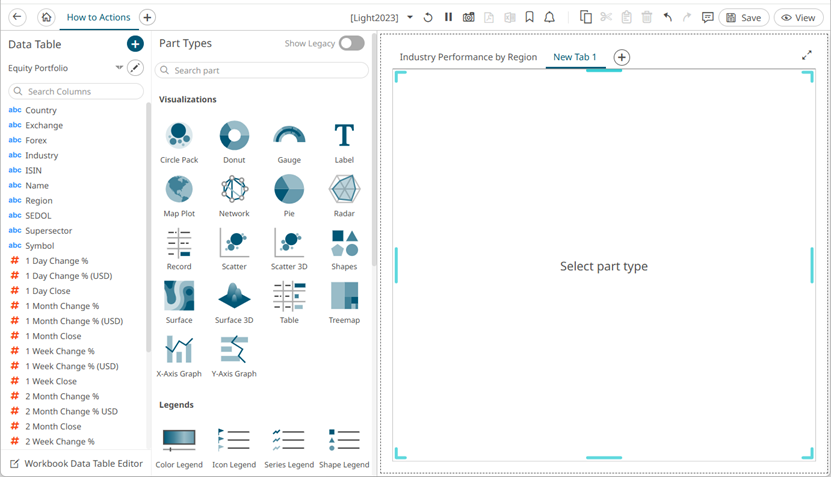
- Repeat steps 2 to 4 to define and add more tabbed panels.
- You can also opt to do any of the following:
- Rearrange the order of the tabs.
- Delete a tab by right-clicking on it and selecting Remove in the context menu.
- To copy other dashboard parts into the tab panel, do one of the following:
- Select the dashboard part and click Copy
 on the toolbar, then select the tab panel and click Paste
  on the toolbar, or
 - Select the dashboard part and click Ctrl + C, then select the tab panel and click Ctrl + V.
- Select the dashboard part and click Copy
- Click the Save
 icon on the toolbar to save the changes.
(c) 2013-2025 Altair Engineering Inc. All Rights Reserved.