Creating Named Sorts
Through the Analyze tab in Data Prep Studio, you can create a summary, apply a filter to it, and then sort the summary table in ascending or descending order using a sort order definition.
The steps to create a sort order definition are detailed in this section.
-
In the Analyze tab, click the Add Sort button
 .
.
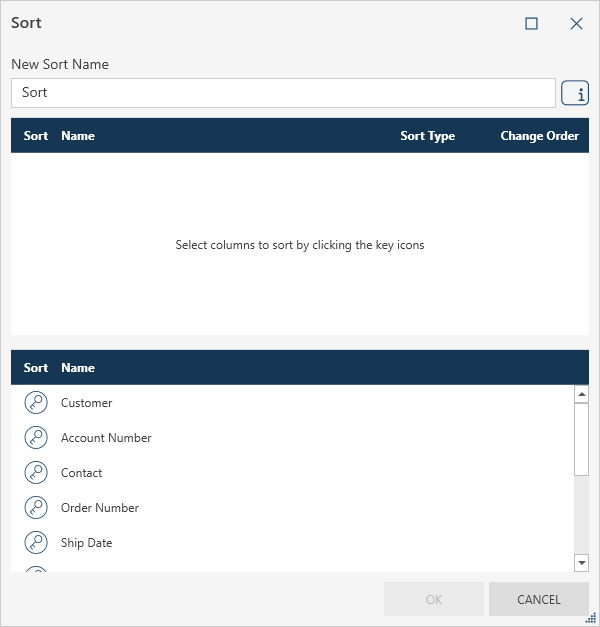
The Sort dialog box displays.
-
Enter an appropriate name for the sort order in the New Sort Name box.
Note that if you do not define a name, Data Prep Studio assigns sequential default names to the Sort result, i.e.: Sort, Sort(1), Sort(2).
-
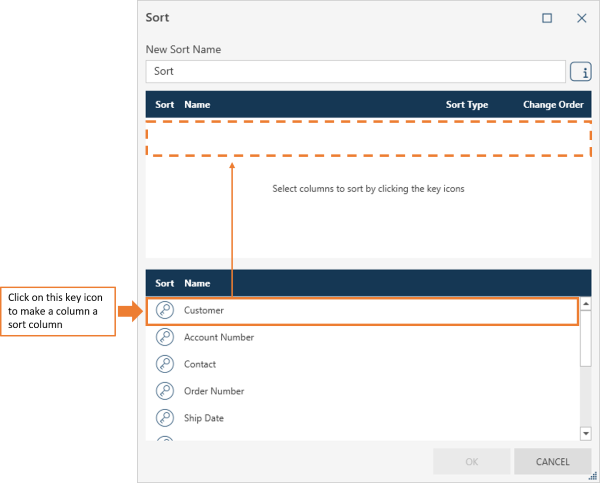
Select a sort column from the list of columns at the bottom of the dialog box.
Click the key icon to move the column from the columns list to the sort columns list:
-
Continue selecting sort columns. Note that the order in which you select columns determines how the records are displayed, as Data Prep Studio first sorts by the first column, then the second column all the way to the last column on the sort columns list.
-
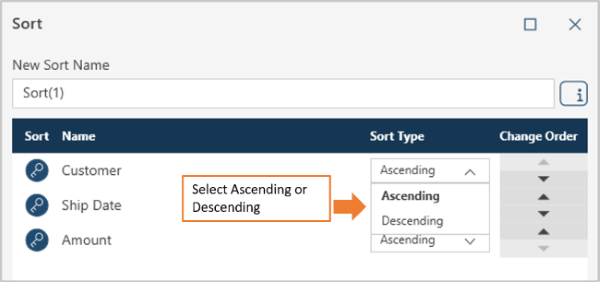
Once you have populated the sort columns list, define the sort type of each selected column by selecting Ascending or Descending from the Sort Type drop down beside each sort column.
-
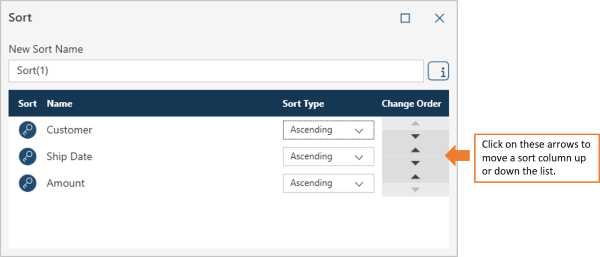
Data Prep Studio sorts according to the arrangement of sort columns. You can change the order by clicking on the up/down arrows beside a sort column.
-
You can also remove a sort column by clicking on the key icon beside a column on the sort column list.
-
Click OK to accept the sort order definition; otherwise, choose Cancel.
© 2025 Altair Engineering Inc. All Rights Reserved.