Adding Directory Users and Groups to Graph Studio
After you connect to an external user management provider, you have can retrieve users and groups from this provider and add them to Graph Studio. An Graph Studio administrator then manages role and license assignment in Graph Studio.
This topic provides instructions for adding directory users and groups to Graph Studio.
Add Directory Users to Graph Studio
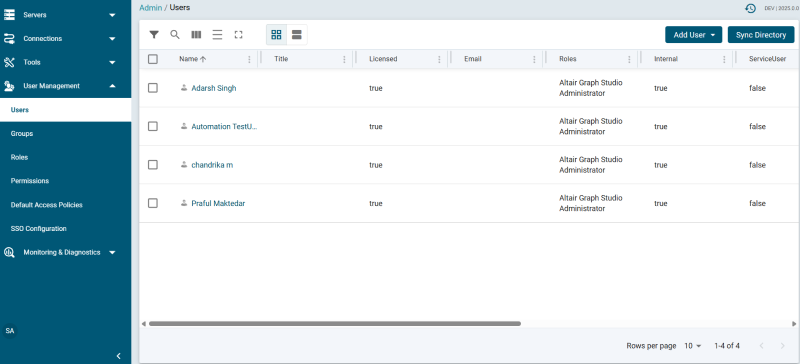
- Select Users from the User Management menu in the Administration application. The Users screen is displayed. For example:
- Click the Add User button and select Add Existing Directory Users. The Add Directory User dialog box is displayed:
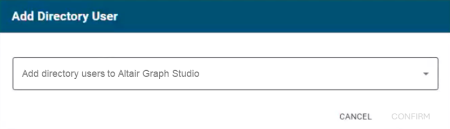
- Click the Add directory users to Graph Studio drop-down list, and select each user to add to Altair. Repeat this step for all of the users that you want to add.
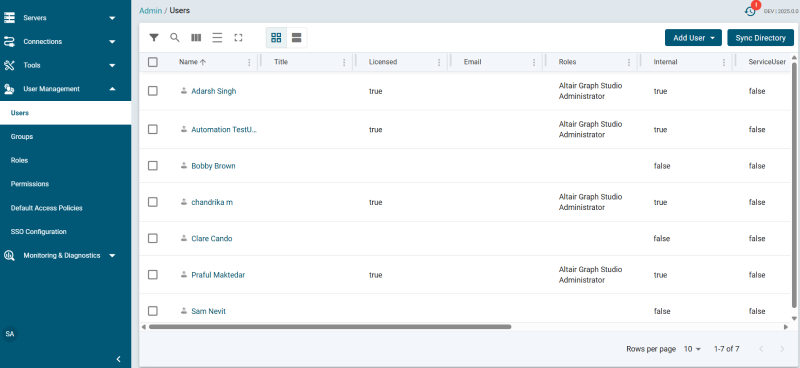
- When you have finished adding users, click OK to return to the Users screen. For example:
In order for the new users to be able to log in to Graph Studio, they must be Licensed users. Complete the next step to designate licensed users.
- The last step in the process is to configure the Licensed users. If you want a user to be able to log in to Graph Studio, they must be specified as a licensed user. To designate a user as licensed, open the Edit User dialog box by clicking a user's name in the Users list. In the dialog box, select the Licensed checkbox and click Save. For example:
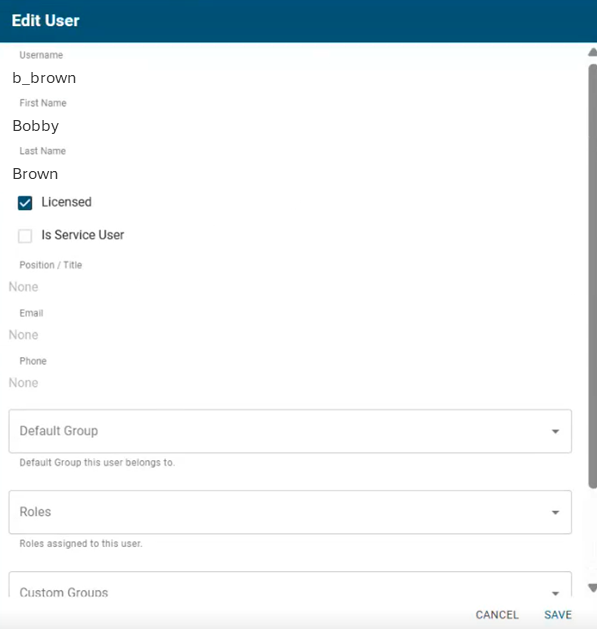
Note that when a user is imported from an external user management server, the password property does not display in the Edit User form.
Repeat this step for all of the users who should be licensed.
Add Directory Groups to Graph Studio
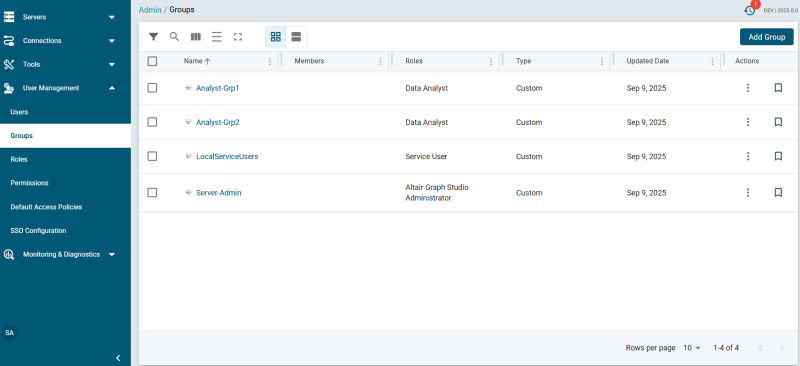
- To add directory groups to Graph Studio, select Groups from the User Management menu in the Administration application. The Groups screen is displayed. For example:
- Click the Add Group button and select LDAP Directory Group. The Add Directory Group dialog box is displayed:
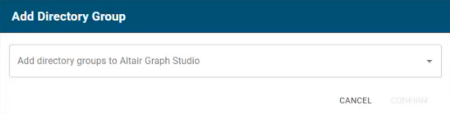
- Click the Add directory groups to Graph Studio drop-down list, and select each group to add to Graph Studio. Repeat this step for all of the groups that you want to add.
- When you have finished adding groups, click OK to return to the Groups screen. The group you specified is added to the Groups list.
Now that the users and groups from the user management provider are available in Graph Studio, the next step is to associate the groups with Graph Studio roles. Roles are used to grant access to the Graph Studio applications and the functionality in those applications. See Creating and Managing Roles for instructions.