Run a Tryout Analysis
Run the forming operations for a tryout analysis.
-
From the Tryout ribbon, Run tools, click Run
Analysis.

-
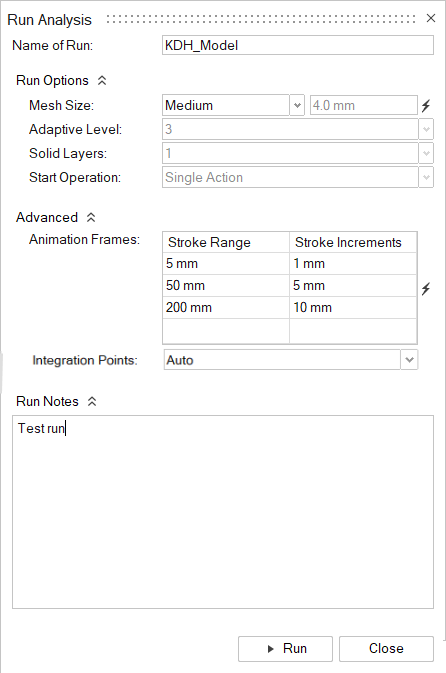
In the Run Analysis dialog, enter a name for the
analysis.
-
Determine the Mesh Size. Choose from the following
options: Coarse, Medium,
Fine, Custom, or
Adaptive. For Custom and
Adaptive, enter a value for the element size. If you
select Adaptive, enter a value in Adaptive
Level for the number of iterations, halving the element size, to
arrive at the final element size specified in Mesh Size.
Use the lightning bolt
 to restore the mesh size to default parameters set
in Preferences. Select Coarse Mesh
Gravity to use a coarse mesh for the Gravity stage to speed up
the analysis without sacrificing accuracy.
Note: Set a custom level for Coarse Mesh Gravity in Preferences. The default is 3.
to restore the mesh size to default parameters set
in Preferences. Select Coarse Mesh
Gravity to use a coarse mesh for the Gravity stage to speed up
the analysis without sacrificing accuracy.
Note: Set a custom level for Coarse Mesh Gravity in Preferences. The default is 3. -
In the Animation Frames table, you can adjust the
frequency of the animation slices, depending on the stroke range as the tool is
traveling to deform the sheet.
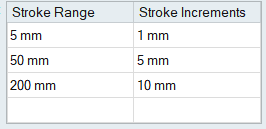
- Stroke Range
- Upper limit for the stroke measured from the closed position
- Stroke Incremements
- Amount of tool travel between animation frames