Define Trim, Pierce and Lance Lines
After adding a trim operation to your analysis, you can define trim, pierce and lance lines.
-
Select a Trim operation that you added to your analysis.
The Trim, Pierce, and Lance tools appear on the Tryout ribbon.
Note: If your model includes a single trim line, the software automatically identifies it. If more than one trim line exists, the longer line is identified as a trim line and the remaining lines are identified as pierce lines. -
Click to confirm or on the guide bar, click
Assign.
The trim, pierce and lance lines are assigned. An arrow appears for each line indicating a direction for the trimming process. The default direction is based on the average normal.
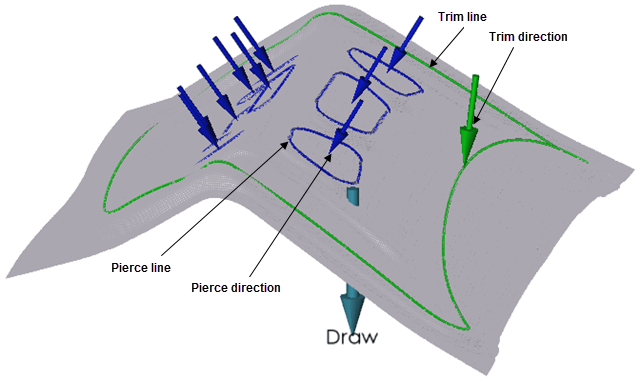 Figure 1. Model with Trim and Pierce Lines
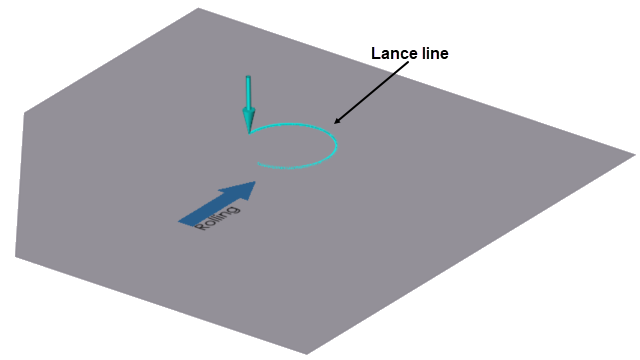
Figure 2. Model with Lance Line