


|
Creating Web Data Input Data Source
The Web Data connector allows the retrieval and processing of JSON, delimited Text (such as CSV, TSV), and XML data that is accessible over HTTP/HTTPS.
Steps:
1. In the New Data Source page, select Input > Web Data in the Connector drop-down list.
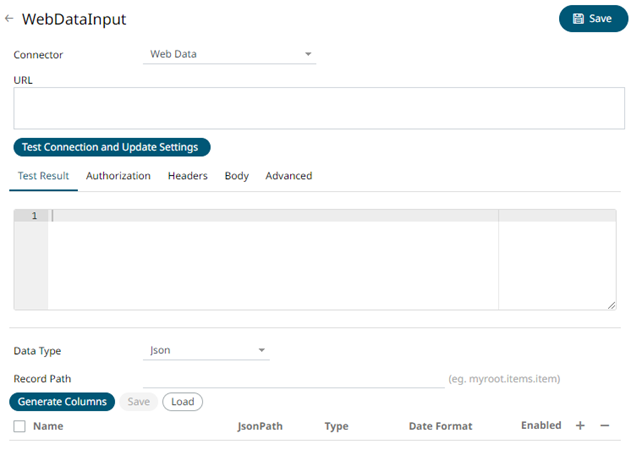
2. Enter the absolute URL of the web data including scheme (HTTP/HTTPS) into the URL field.
3. Click
 . A successful connection will result
to the following:
. A successful connection will result
to the following:
· The Connection Successful status is displayed along with some raw data returned by the server.
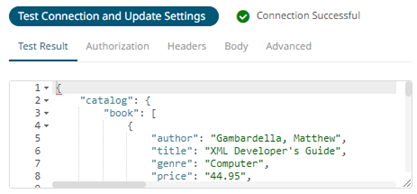
· Connector tries auto discovery of the Data Type.
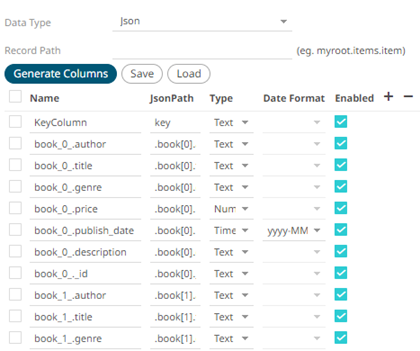
You can also opt to load or save a copy of the column definition.
4. Adjust the Authentication Type, if required.
4.1. Select the Authorization tab.
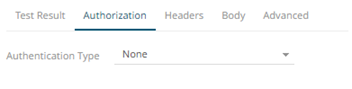
4.2. Set the required settings:
|
Authentication Type |
Description |
|
None |
No authentication needed. |
|
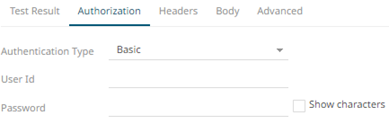
Basic |
Enter the User ID and Password to connect to the connector’s service. Select the Show Characters box to display the entered characters. |
|
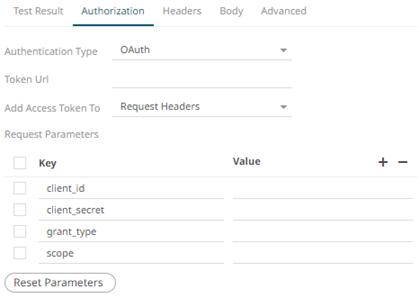
OAuth |
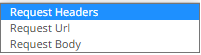
Some standard OAuth token request parameters come initialized with empty values. You can set these values and also add/remove any/all of the keys. Enter or select the following settings: · Token URL – The URL to retrieve the access token from. · Add Access Token To - The Access token retrieved from the Token URL can be added to headers, URL or request body, depending on how the endpoint needs the token. o Request Headers - A header is automatically added to the REST API request. o Request URL - The URL needs to be manually parameterised with a {access_token} parameter, before calling the REST API, the parameter is replaced with the actual token. o Request Body - The Request Body needs to be manually parameterised with a {access_token} parameter, before calling the REST API, the parameter is replaced with the actual token. NOTE: The given request parameters key/value pairs are formatted by the connector as application/xwww-form-urlencoded, and posted to Token URL. |
|
Bearer Token |
If you already have a authentication token, enter the token string into Bearer Token input box. This can be parameterized also. |

5. The Headers tab allows you to enter any custom headers required to be passed to the URL endpoint, typically to provide additional metadata. Enter any key/value pairs you need and the connector will send them along with request.

6. Set the Body, if a POST/PUT request is required.
6.1. Select the Body tab.
6.2. Set the required settings:
|
Property |
Description |
|
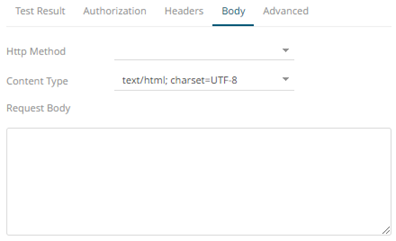
HTTP Method |
Select the appropriate HTTP method for the request from the following options: · POST – add new data · PUT – replace existing data |
|
Content Type |
Select or enter content-type based on request body (payload) format. |
|
Request Body |
The Request Body for the HTTP POST method. |
7. Set the Advanced settings, if needed.
7.1. Select the Advanced tab.
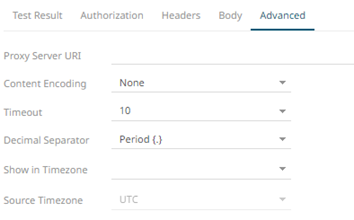
7.2. Set the required settings:
|
Property |
Description |
|
Proxy Server URI |
The HTTP Proxy setting that will allow the connector to reach the endpoint. |
|
Content Encoding |
Select the Content Encoding with the HTTP Header: None, GZip, Deflate, or GZip and Deflate |
|
Timeout |
The length of time to wait for the server response (10 to 300). Default is 10. |
|
Decimal Separator |
Select either the dot (.) or comma (,) as the decimal separator. |
8. Click  . The
new data source is added in the Data Sources list.
. The
new data source is added in the Data Sources list.