


|
Creating MS Excel (xlsx) Input Data Source
The MS Excel (xlsx) connector allows for retrieval and processing of MS Excel workbook data stored using the XLSX file format. The MS Excel (xlsx) connector processes data on a row-by-row basis, allowing for better performance and less memory consumption compared to the MS Excel (legacy) connector.
Steps:
1. On the New Data Source page, select MS Excel (xlsx) in the Connector drop-down list.
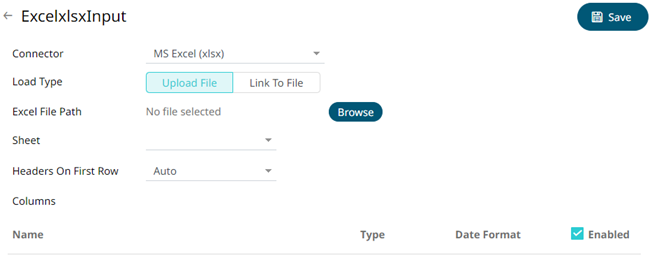
2. Select the MS Excel (xlsx) file source. Do one of the following:
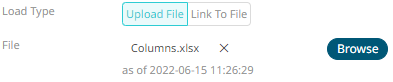
· Upload
a data source snapshot by clicking Upload File  then
Browse
then
Browse  to
browse to the file source.
to
browse to the file source.
After selecting the file, it is displayed with the timestamp of the snapshot.
The data source is placed in the repository and locked, synchronized, and bundled with the workbook version.
To
change the data source, click  then
Browse to
browse to a new version of the file, which is uploaded into the repository,
and also create a new version of the workbook that reads it.
then
Browse to
browse to a new version of the file, which is uploaded into the repository,
and also create a new version of the workbook that reads it.
· Link to a XLSX data source file by clicking Link to File and entering a File Path.

Ensure that in a cluster, you need to use a shared path, or put it on every node and use a path that resolves on every node. You can update its contents whenever you want.
When a file is selected, the MS Excel (xlsx) connector will automatically select the first available sheet, set the first row as headers, and populate available columns.
By default, all the generated columns are enabled. You can uncheck the Select All box, then check the boxes of the columns that will be enabled.
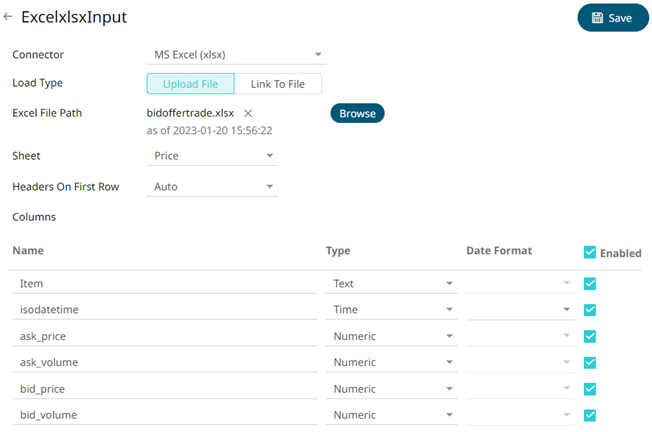
3. Adjust Sheet selection, if required. Selecting a new sheet will re-populate the Columns list.
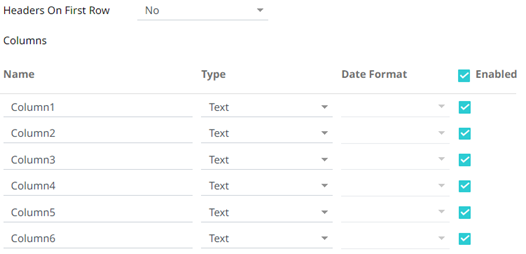
4. Adjust the Headers On First Row if needed. By default, the connector will pick up headers from the first row if all cells on the first row contain text data.
You can opt to select one of the following:
· Leave headers on first row as Auto if you want the connector to automatically pick up column names from sheet.
· Select Yes to force picking first row as headers.
· Select No to force not picking first row as headers. This will auto generate all column names.
5. Adjust column Type or Date Format to adjust data interpretation.
6. Click . The new
data source is added in the Data Sources pane.
. The new
data source is added in the Data Sources pane.