Uploading Applications
Users with Administrator or Designer role can upload applications to folder or subfolders that they have permission.
Steps:
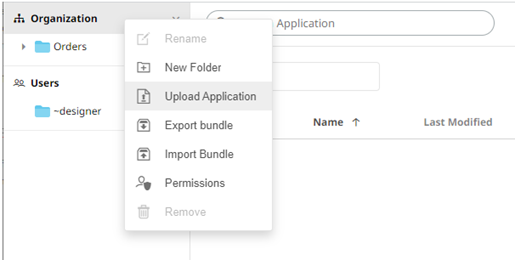
1. To upload applications, you can either right-click a folder or subfolder then select Upload Application:
· on the expanded Folder hierarchy list
· on the Root folders list
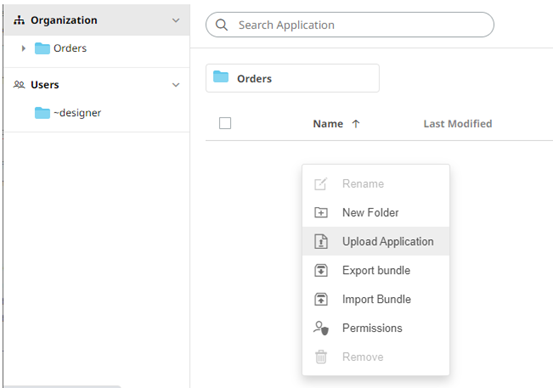
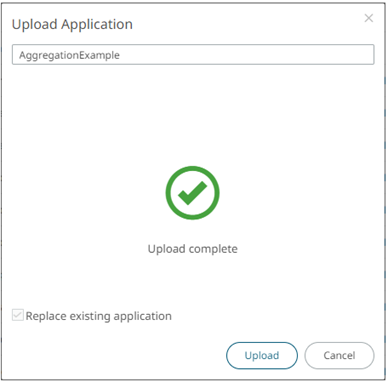
The Upload Application dialog displays.
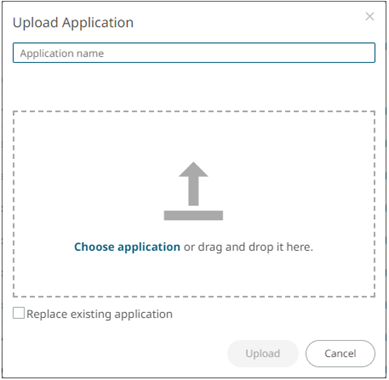
2. To upload an application, you can either:
· drag it from your desktop and drop in the dialog, or
· click Choose Application and select one in the Open dialog that displays.
The name of the application is displayed on the uploaded application area and in the Name box.
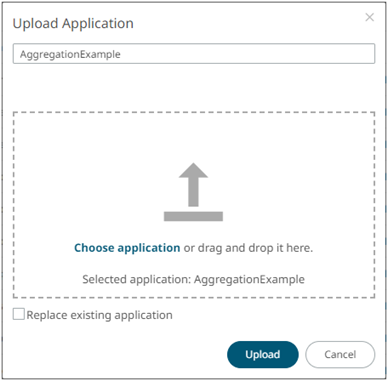
3. You can opt to rename the application.
|
NOTE |
The application name must start with a letter (a to Z) or underscore. Also, it can only contain letters (a to Z), numbers (0 to 9), and underscores. |
4. To replace an existing application, select the Replace existing application check box.
5. Click  .
.
You will be notified when the application has been uploaded.
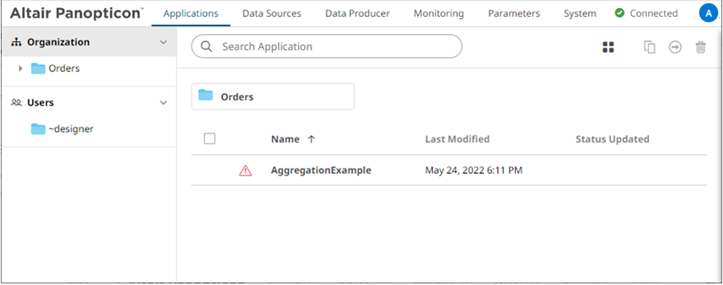
The application is added and displayed on the Applications tab.
|
NOTE |
A
When the
data source is available, the icon changes to |


