Creating a REST Output Connector
Outputs an event to a REST API. This output connector can also be used as an alerting system.
Steps:
1. On the Data Source tab, select Output > Rest in the Connector drop-down list.

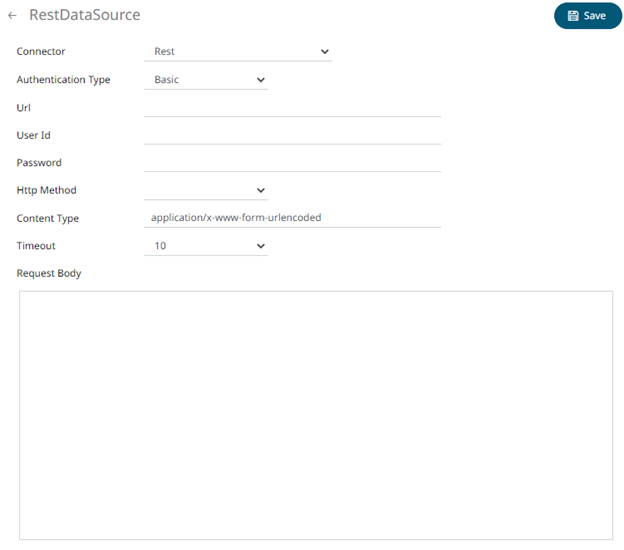
2. Define or select the following properties:
|
Property |
Description |
|
Authentication Type |
· Basic
Enter the URL of the REST API. Then enter the User Id and the Password that will be used to the connect to the REST API.
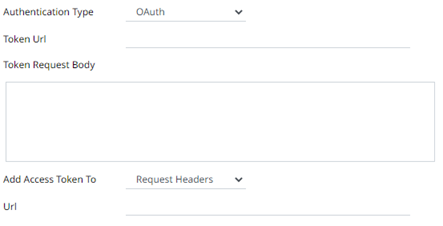
· OAuth
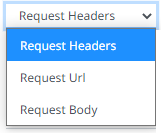
Then enter the following settings: o Token URL – The URL to retrieve the access token from. o Token Request Body – The request body used for access token requests. o Add Access Token To - The Access token retrieved from the Token URL can be added to headers, URL or request body, depending on how the REST endpoint needs the token.
§ Request Header - A header is automatically added to the REST API request. § Request URL - The URL needs to be manually parameterised with a {access_token} parameter, before calling the REST API, the parameter is replaced with the actual token. § Request Body - The Request Body needs to be manually parameterised with a {access_token} parameter, before calling the REST API, the parameter is replaced with the actual token. o URL – The URL of the REST API. |
|
HTTP Method |
Select the appropriate HTTP method for the request from the following options:
· GET – retrieve data · POST – add new data · PUT – replace existing data · DELETE – remove existing data |
|
Content Type |
The required Content Type. Default is application/x-www-form-urlencoded |
|
Timeout |
The length of time to wait for the server response (10 to 300). Default is 10. |
|
Request Body |
The Request Body for the HTTP POST. |
3. Click . The new data source is added in the Data Sources
list.


