


|
Panel
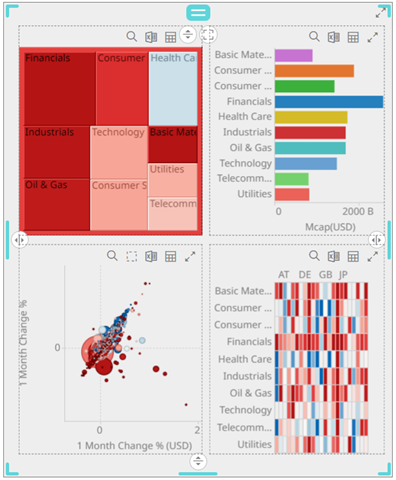
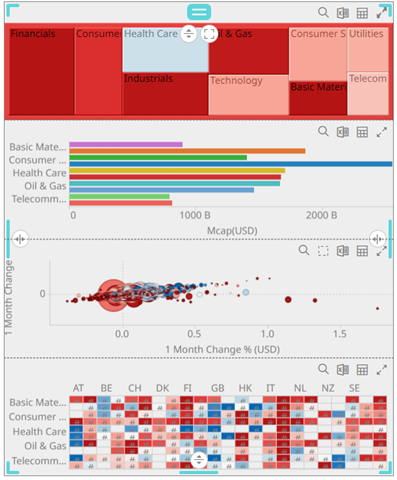
Dashboards can be flat or consist of groups of dashboard parts. Grouping of parts can be done by adding them in a panel.
Steps:
1. After double-clicking or drawing a rectangle
on the dashboard canvas, click  on
the Select Part pane then click the Panel
on
the Select Part pane then click the Panel  icon.
icon.
The Panel pane is displayed, and the Panel part is added on the dashboard canvas.
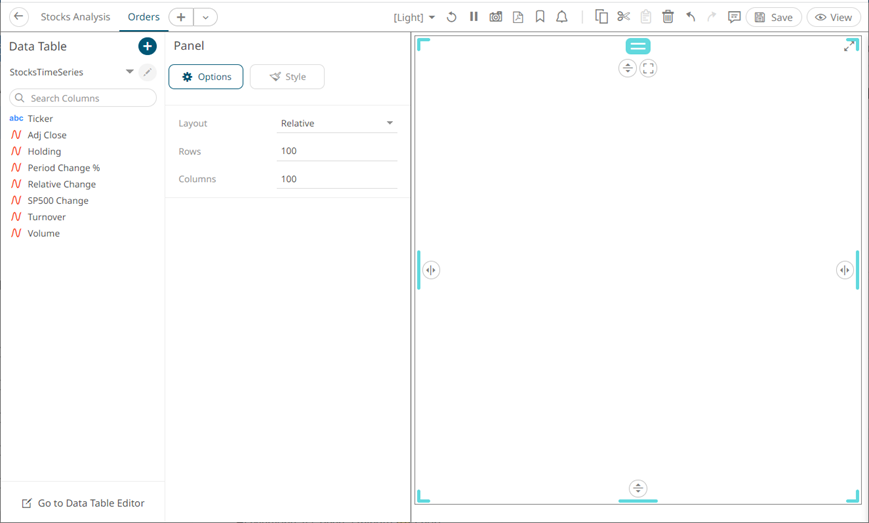
2. Add parts or visualization in the panel.
3. Select one of the two Layout configurations:
· Relative
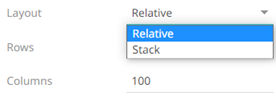
Then set the number of Rows and Columns in the grid.
· Stack
Stacks items horizontally or vertically, creating a single row or column layout.
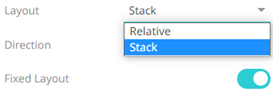
Vertical Direction:
Horizontal Direction:
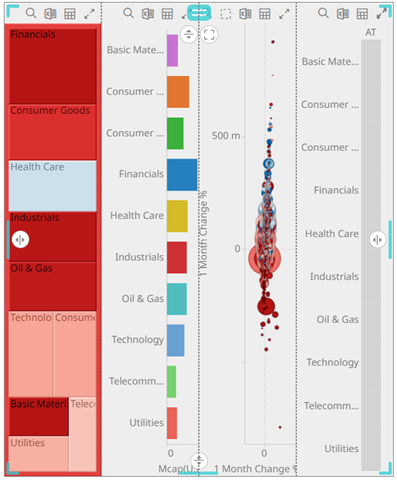
Parts in stack layouts cannot overlap, so collisions are automatically handled while resizing items.
Tap the Fixed Layout slider so the size of items as seen on the screen will not change, even as the resolution changes. A fixed axis stack is allowed to overflow the bounds of the panel, resulting in scrollbars.
4. To set the style of the Panel, click
Style  .
.
The page updates to display the Style pane.

5. Click the Foreground or Background box to display the Color dialog and set the color or enter the Hex color code.
6. Set the Font type, size, style (Bold and/or Italic).
7. Click the Border box to display the Color dialog and set the color or enter the Hex color code.
8. Set the values for the panel Border, Padding, Border Radius, and Margin, if required.
9. Click the Save  icon on the toolbar to save the
changes.
icon on the toolbar to save the
changes.
When
saved, the  notification
is displayed.
notification
is displayed.