The Residence Time in Geometries Models
The time spent is stored in a Custom Residence Time property allows you to analyze the particle residence time in specific volumes of interest.
The three Residence Time in Geometries models allow you to:
- Add each of the particle types included in the simulation to the plug-in, determining which particle types should be taken into account when calculating residency times.
- Specify the parameters that describe the geometry for the plug-in:
- Box
- Centre (x,y,z)
- Size (x,y,z)
- Rotation (x,y,z)
- Cylinder
- Start Point (x,y,z)
- Start Radius
- End Point (x,y,z)
- End Radius
- Sphere
- Centre (x,y,z)
- Radius
- Box
Calculating the Custom Residence Time Property
For particles that meet the following criteria, the Custom Residence Time property associated with these three plug-ins adds the value of the current Time Step (in seconds) to the property:
- The particle is of a type (e.g. ‘New Particle 1’) listed in the Particles section of the model’s dialog box.
- The particle is within the bounds of the geometry described by the appropriate parameters for the given geometry (centre, radius, rotation, and so on.)
Particles that do not meet both these criteria will not have any value added to the Custom Residence Time property.
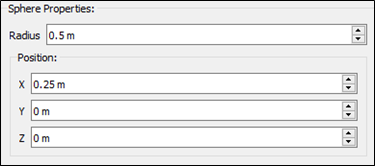
For example, if two particle types are defined in a simulation and only the particles of type New Particle 1 spent in a specific region are to be measured, you may define the parameters as follows:
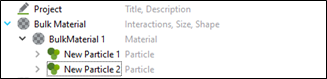
In this example, you are defining a sphere to track the Custom Residence Time. Although the simulation includes an additional particle type (New Particle 2), because it is not displayed in the Particles list in the dialog box, particles of this type will not have a value added to their Custom Residence Time attribute, unlike the particles of type New Particle 1.
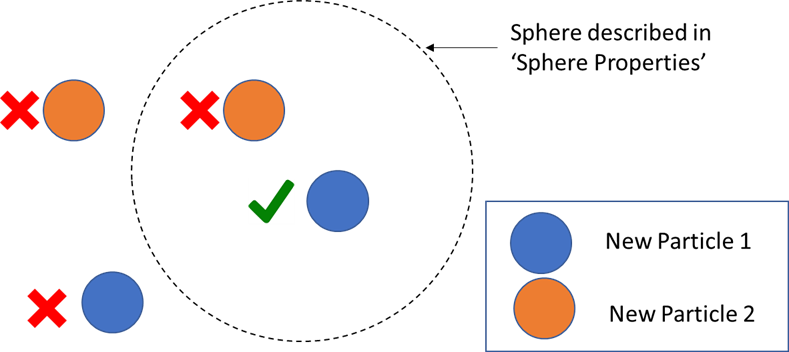
In this example, the particle of type New Particle 1 inside the described sphere is the only particle to meet both criteria. As a result, it is the only particle whose Custom Residence Time value will be increased.
The results are as follows:
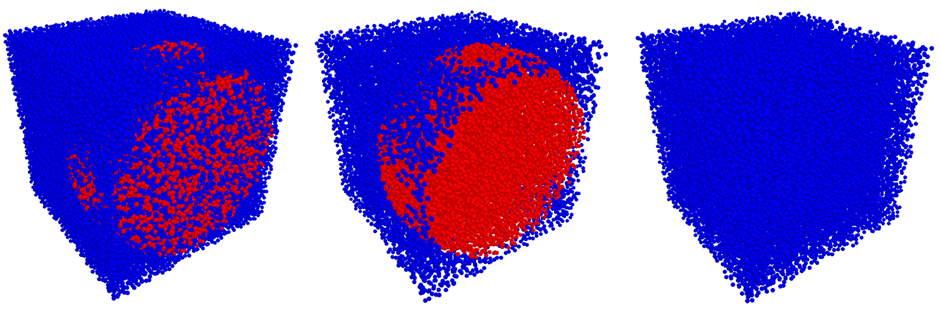
From the left to right, you can see both particle types, New Particle 1 only, New Particle 2 only. Blue indicates a Custom Residence Time of zero and red indicates a non-zero value.
Using the Residence Time in Geometries Models
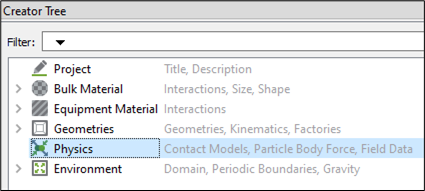
Any Residence Time in Geometries model must be added to the Physics of a specific EDEM simulation and then modified as needed in order to be used.
- In the Creator Tree, select Physics.
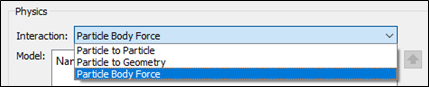
- Select Particle Body Force from the Interaction dropdown list.
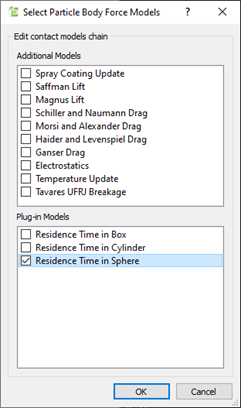
- Click Edit Contact Chain at the lower section of the Physics panel.

- In the Select Particle Body Force Models dialog box, select the appropriate model and click OK.
The plug-in is displayed in the Model panel. - Select the plug-in and click the
 icon in the lower-right section of the Physics section to configure it.
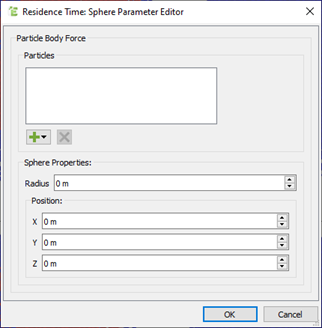
The parameters displayed in the dialog box will depend on the plug-in being used. In this example, the Residence Time in Sphere plug-in is used, but the corresponding Box and Cylinder plug-ins look similar, only with different geometry properties.
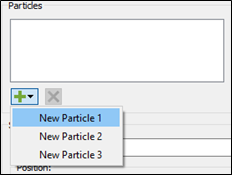
- Click the
 icon to view a list of all the particles in the simulation.
 - Select the particle types for which you want to track the Custom Residence Time property.
- After specifying particle types, specify the properties for the geometry.
- Click OK.
The properties values are stored within the EDEM simulation and can be recovered and modified at any time during the simulation by clicking the icon and repeating the same steps.
Post Processing
After a simulation has run with one of the three Residence Time in Geometries models enabled, the EDEM Analyst displays the new property.
- Select Display > Particles from the Analyst Tree.

- In the lower-left corner panel, select the Color by dropdown list and select Custom Residence Time.

As with any other EDEM property, you can now analyze or export data for the Custom Residence Time property data.
(c) 2023 Altair Engineering Inc. All Rights Reserved.