


|
Creating Service Accounts for Connectors Using OAuth Authentication
The steps below describe how to create service accounts for connectors with OAuth authentication.
Hubspot
Steps:
-
Login to your Hubspot account.
-
Click on Settings.
-
Navigate to Integrations > API Key.
-
Generate an API Key:
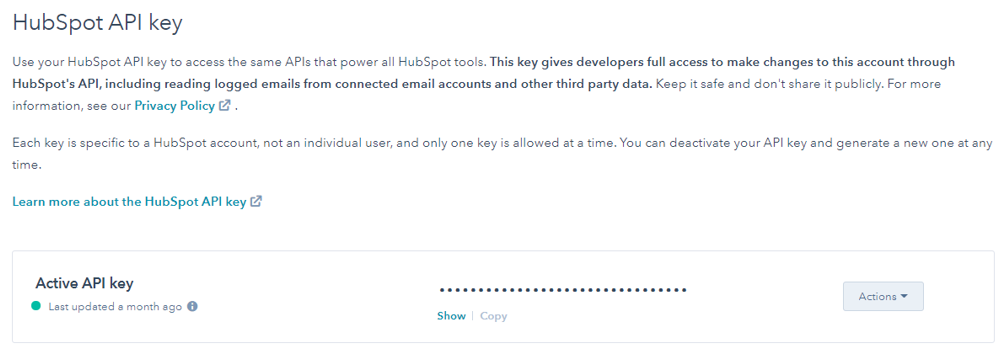
Next Step:
When importing tables from HubSpot, add the following Other connection option using the key value as your API Key: "APIKey=[key value]"
Box Cloud Storage
Steps:
-
Log in to your Box developers dashboard: https://app.box.com/developers/console.
-
Click Create New App and select your App type (e.g., Custom App).
-
Select the OAuth 2.0 with JWT (Server Authentication) authentication method and select View Your App.
-
Click Configuration from the main menu to access your app settings.
-
Select the application access level and the scope of user permissions your app will request. The enterprise access level enables you to work with existing users in your enterprise. The application-level setting restricts access to App-type users, users that have only API access.
-
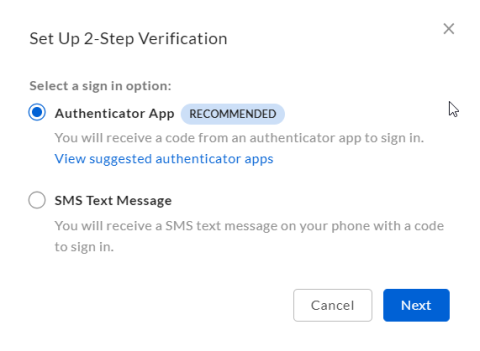
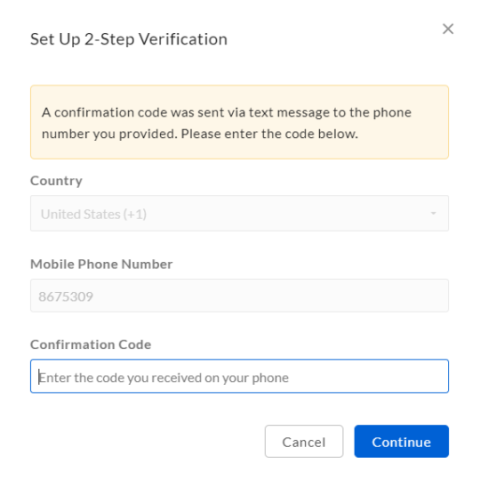
In Add and Manage Key Pairs, click on Generate a Public/Private keypair. This will prompt to enable 2-Factor authentication. Go to settings and enable this:
You have a choice of using the Authenticator App:

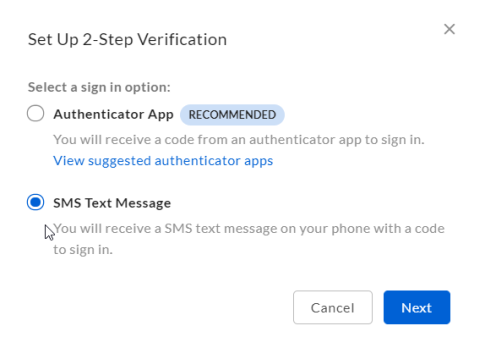
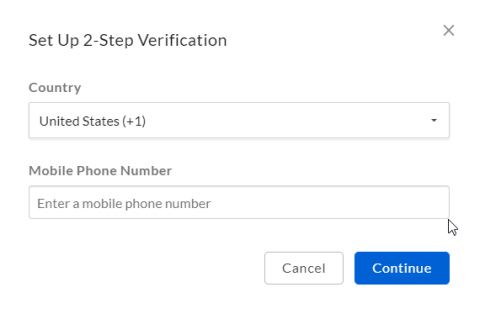
Or using SMS Text Message:
-
Go back to the Developer console, configuration of your app and click on Generate a Public/Private keypair. This will create a new JSON file. Open the file.
-
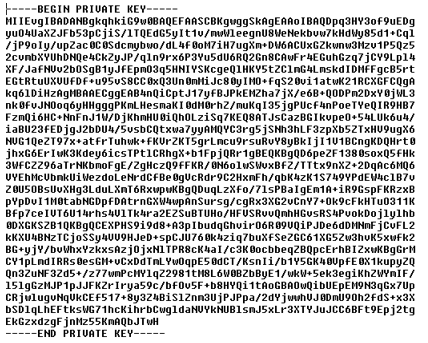
Copy the value of Private Key and save to a PEM file. This file will be the value for OAuthJWTCert.
-
Replace all \n instances with a new line. The file should look something like this:

-
Note the Client ID and Client Secret in the JSON file. These will be the values for OAuthClientId and OAuthClientSecret, respectively.
-
Authorize the application in the enterprise admin console: Select Apps > Custom Applications > Authorize New App and enter the Client Id in your app settings.
Note: If you change the JWT access scopes, you will need to reauthorize the application in the enterprise admin console: Click Apps in the main menu and then select the ellipsis button next to your JWT application name. Select Reauthorize App in the menu.
NEXT STEP:
When importing tables from Box Cloud Storage to Data Prep Studio, add the following Other connection option: "OAuthJWTCert=[Location of JWT Cert File];OAuthJWTCertType=PEMKEY_FILE;OAuthJWTSubjectType=enterprise;OAuthJWTSubject=[JWT Subject];OAuthJWTPublicKeyId=[JWT Public Key ID];OAuthJWTCertPassword=[JWT Cert Password];OAuthJWTCertSubject=*;OAuthClientId=[OAuth Client ID];OAuthClientSecret=[OAuth Client Secret]"
Reference:
-
http://cdn.cdata.com/help/BBE/odbc/pg_connectingtoboxcustomappcreate.htm.
Google Drive and Google BigQuery
Go to https://console.cloud.google.com/apis/credentials.
Steps:
-
Login to your Google account.
-
Select a project.
-
Select Create Credentials > Service Account.
-
Specify a Name and Description.
-
Note of the Service Account ID. This will be the value for OAuthJWTIssuer.
-
Click Create Button, Continue, then Done.
-
Edit the new service account.
-
Select Keys > Add Key > Create New Key,
-
Select P12 key type, then Create.
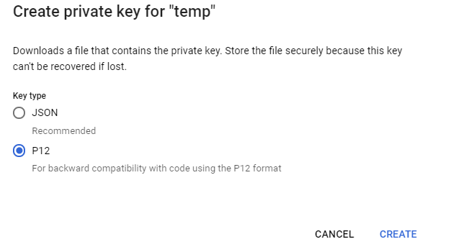
A p12 file will be generated. This will be the value for OAuthJWTCert.
-
Take note of the private key password (e.g. “notasecret”), this will be the value for OAuthJWTCertPassword.
-
Click Save.
-
Select Create Credentials, OAuth Client ID.
-
Select Desktop app as Application Type, then set the Name.
-
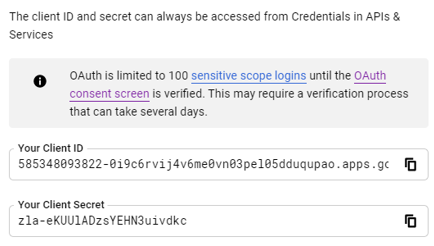
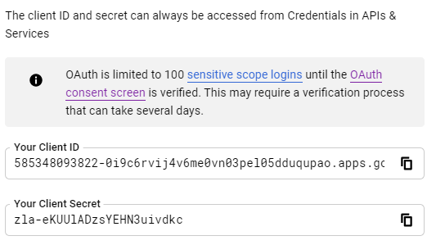
Note the Client ID and Client Secret. These will be the values for OAuthClientId and OAuthClientSecret, respectively.
-
Go to Library, search for Google Drive API and Google BigQuery API, and click on Enable API.
Next Step:
When importing tables into Data Prep Studio via the Google Drive and Google BigQuery connectors, set the following Other connection option: OAuthJWTCert=[Location of JWT Cert File];OAuthJWTCertType=PFXFILE;OAuthJWTCertPassword=[JWT Cert Password];OAuthJWTCertSubject=*;OAuthJWTIssuer=[JWT Issuer];OAuthClientId=[OAuth Client ID];OAuthClientSecret=[OAuth Client Secret]
References:
-
http://cdn.cdata.com/help/RGE/odbc/pg_oauthcustomappcreate.htm
-
http://cdn.cdata.com/help/DBE/odbc/pg_oauthcustomappcreate.htm
Google Sheets and Google Ads
Steps:
-
Go to https://console.cloud.google.com/apis/credentials.
-
Login to your google account.
-
Select a project.
-
Select Create credentials, Service Account.
-
Set a Name and Description.
-
Note the Service Account ID, this will be the value for OAuthJWTIssuer.
-
Click Create, Continue, then Done.
-
Edit the new service account.
-
Select Keys > Add Key > Create New Key,
-
Select JSON key type, then Create.
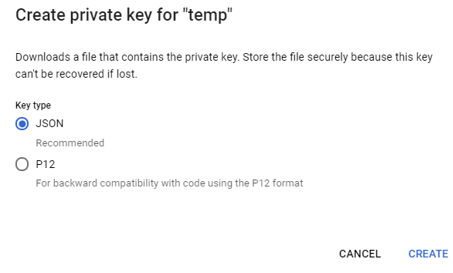
A JSON file will be generated.
-
Open the JSON file.
-
Copy the value of Private Key and save to a PEM file. This file will be the value for OAuthJWTCert.
-
Replace all \n instances with a new line. The file should look something like this:
-
Click Save.
-
Click on Create Credentials, OAuth Client ID.
-
Select Desktop app as Application type, then set the Name.
-
Take note of the Client ID and Client Secret. These will be the values for OAuthClientId and OAuthClientSecret, respectively.
-
Go to Library, then search for Google Sheets API, and click on Enable API.
-
Edit the service account. Click on Show Domain-wide delegation, and check Enable G-Suite Domain-wide delegation. This will also create a service account client in OAuth Client ID list.
-
Enable Gsuite domain delegation:
-
Go to https://admin.google.com/datawatchqa.com/ManageOauthClients
-
Create an Authorized API Client
-
Client ID: client_id from json file, when you created a Key in service account
-
API Scopes: (comma-delimited) --> list of scopes are in https://developers.google.com/identity/protocols/oauth2/scopes
-
-
-
For Google Sheets, add the following scopes:
-
https://www.googleapis.com/auth/spreadsheets
-
https://www.googleapis.com/auth/spreadsheets.readonly
-
https://www.googleapis.com/auth/drive
-
https://www.googleapis.com/auth/drive.file
-
https://www.googleapis.com/auth/drive.readonly
-
For Google Ads, add the following scopes:
-
https://www.googleapis.com/auth/adwords
-
Next Step:
When importing tables into Data Prep Studio via the Google Sheets and Google Ads connectors, set the following Other connection option: OAuthJWTCert=[Location of JWT Cert File];OAuthJWTSubject=[JWT Subject];OAuthJWTCertType=PEMKEY_FILE;OAuthJWTCertPassword=[JWT Cert Password];OAuthJWTCertSubject=*;OAuthJWTIssuer=[JWT Issuer];OAuthClientId=[OAuth Client ID];OAuthClientSecret=[OAuth Client Secret]
References:
-
http://cdn.cdata.com/help/RLE/odbc/pg_oauthcustomappcreate.htm
-
http://cdn.cdata.com/help/DZE/odbc/pg_oauthcustomappcreate.htm
-
https://developers.google.com/adwords/api/docs/guides/authentication#prerequisites