


|
Creating Text Output Connector
Allows retrieval and processing of delimited Text files (such as CSV, TSV, etc.). The files produced can be consumed by the Text connector.
Steps:
1 On the Data Source tab, select Output > Text in the Connector drop-down list.
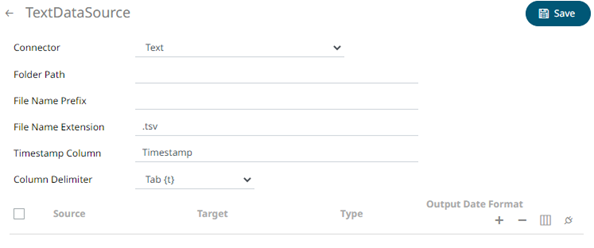
2 Define or select the following properties:
|
Property |
Description |
|
Folder Path |
The path where the Text output will be placed. |
|
File Name Prefix |
The prefix for the file name. This can be parameterized with field names. Consequently, each event can generate a new file in the given folder. For example, if the Text output connector is attached as the consumer to StockStatic, you can use “{Region}” inside the File Name Prefix, causing it to create three files for Asia Pacific, Europe, and North America. Note that partitioning file names with current date in “yyyyMMdd” format is still done automatically and can’t be controlled, at the moment. For the StockStatic example, if it was executed today, it would have created three files like Asia Pacific_20181219.tsv. |
|
File Name Extension |
File name extension of the text output. Possible values are .tsv and .csv. |
|
Timestamp Column |
The name of the new column that will include the timestamp. Default is Timestamp. |
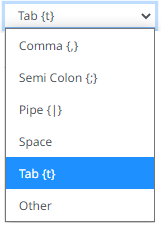
3. Select the Column Delimiter from the drop-down list to be used when parsing the text file.
4. Click any of the following buttons:
|
Button |
Description |
|
|
Check the topmost |
|
|
Check the |
|
|
Allows you to select an output topic in the drop-down list.
Click
|
|
|
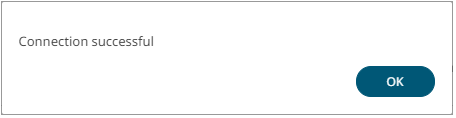
Tests if the connection to the output connector is successful. If successful, a confirmation message displays.
Click
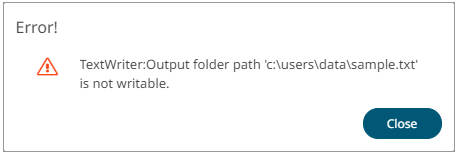
Otherwise, an error prompt displays.
Click
|


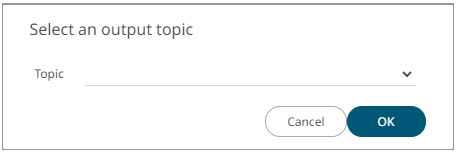

 . The schema of the selected output topic
is displayed.
. The schema of the selected output topic
is displayed.
 and fix the connection error.
5. To add new columns, click  on
the Sources section.
on
the Sources section.
6. Enter or select the following properties:
|
Property |
Description |
|
Source |
The column name of the source schema. |
|
Target |
The column name of the target schema. |
|
Type |
The data type of the column. Can be a Text, Numeric, or Time |
|
Output Date Format |
The output Date/Time format when the data type is Time. |
7. Repeat steps 5 and 6 to add more sources.
8. Click  .
The new data source is added in the Data Sources list.
.
The new data source is added in the Data Sources list.