Custom Changes
Any data preparation operation you apply to a table while working in Monarch is called a custom change. Custom changes can be placed in a list and applied to a single column of a single data type at a time, similar essentially to a user-defined function.
You can drag any set of changes that apply to a single data type, e.g., text, numeric, date, and then save them with a name for reuse within any suitable table in a workspace.
When the changes are applied to one or more columns on a table they will be recorded in the change history.
Custom change lists are created from an existing Change History List.
Creating custom change lists
Custom change lists are created so that all of the changes you might want to perform on single columns are grouped together and applied sequentially. You can create as many custom change lists as you want for as many columns as necessary.
Steps:
-
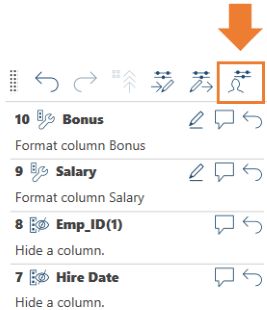
Select the Edit or Create Custom Change List from the Change History panel:
-
Click the Add new custom change list icon to begin creating your new change list.
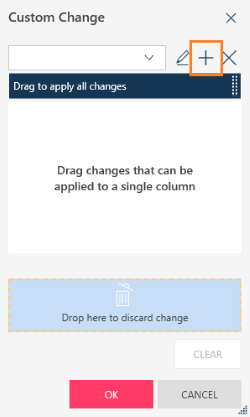
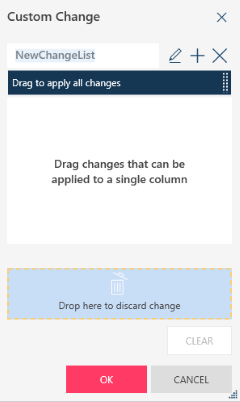
By default, the new change list is named "NewChangeList" and subsequent change lists are named ""NewChangeList(n)," where n refers to the number of new change lists added. You can rename change lists by clicking on the Rename custom change list
 icon.
icon. -
Drag change history items from the Change History list to the Custom Change dialog box.
-
Remove Column
-
Duplicate Column
-
Make Proper, Lower, and Upper Case
-
Remove Leading and Trailing Spaces
-
Collapse Consecutive Spaces
-
Remove Specified Characters
-
Extract Starting from Left, Right, Using position & length, Using start & end
-
Replace Using Position & Length, Using Find & Replace,
-
Ditto
-
Replace Nulls & Blank Values
-
Split into parts from Left, Right, Names, & Addresses
-
Make Value Column
-
Hide or Unhide Columns
-
Change To Text (Date or Numeric)
-
Convert Date/Time to Text or Number
-
Split Date, Split Date into ISO, Split Date into Fiscal
-
Round with Precision, Up, and Down
-
Remove Negative Signs and Decimals
You can also select the drop-down handle of any column in the Prepare window and then select Custom Change > Create Change List.
The Custom Change dialog box displays.
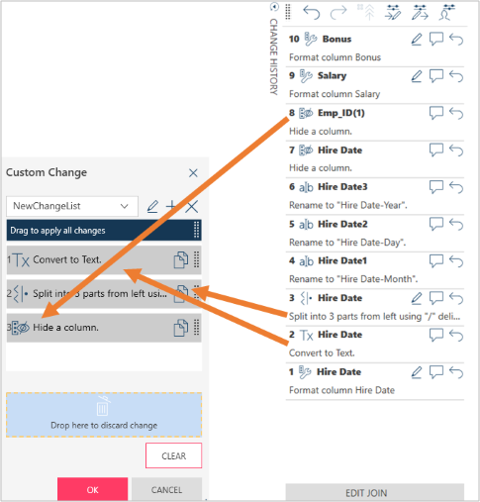
The following changes may be dragged from Change History to a custom change list.
Applying custom change lists
Steps:
-
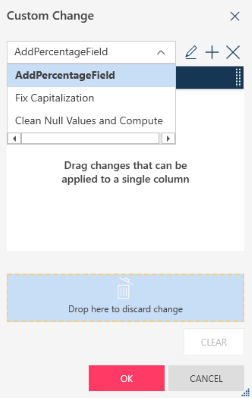
Select the Change List you wish to apply to another column from the drop-drown of the Custom Change dialog.
-
Drag the row that says "Drag to apply all changes":

to the column you want to apply the changes to.
Modifying change lists
To modify a Custom Change List, do one of the following:
-
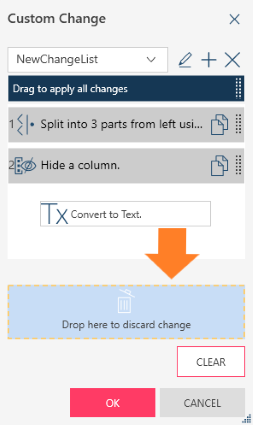
To delete a specific change, drag the change to the bottom of the dialog box; this area should say: Drop here to discard change.
-
To remove all changes, select Clear.
Deleting change lists
To delete a Custom Change List, select the Delete Custom Change List icon from the toolbar:

Related Links


